The large naval contingent was followed by the Headquarter Units of the 2nd Australian Imperial Force. The first artillery units belonged to Army Troops.

2/9 Field Regiment was the first artillery unit in the march. 
14 Australian Field Regiment followed close behind. 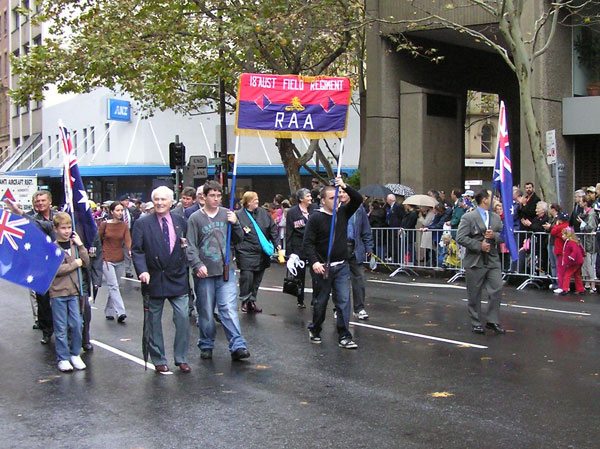
18 Australian Field Regiment 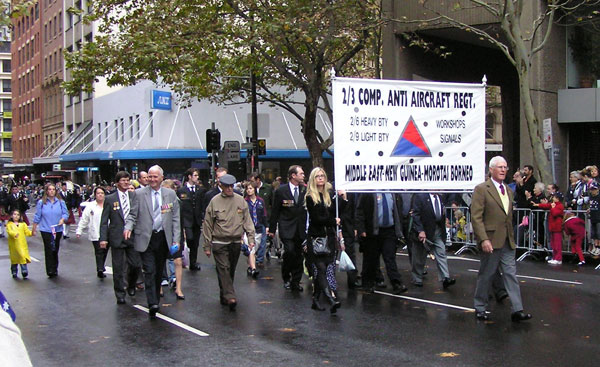
2/3 Composite AA Regiment 
‘A’ Australian Heavy Battery 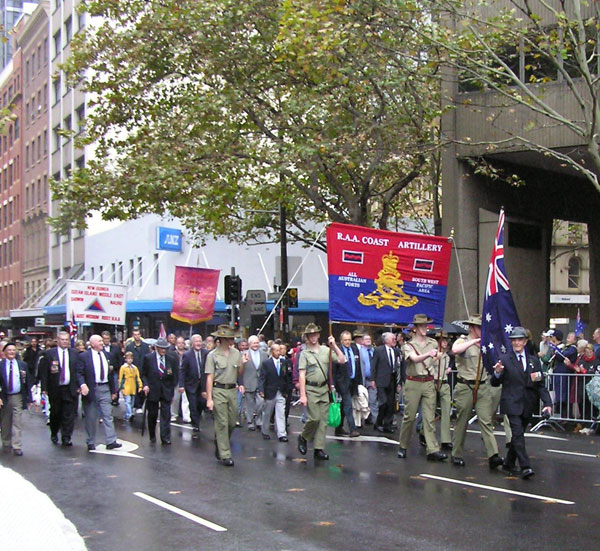
Coast Artillery 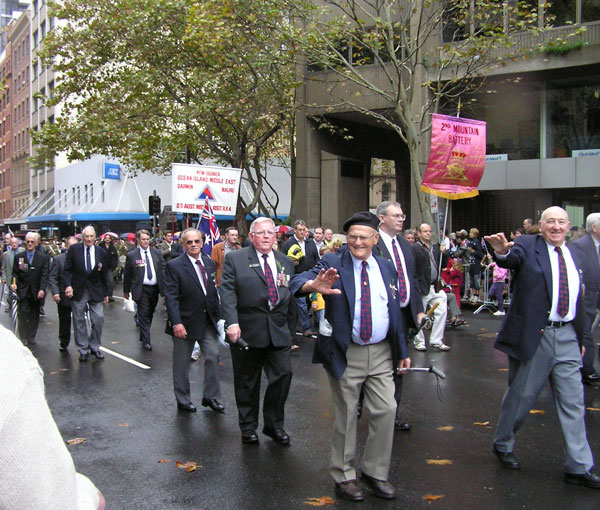
Rear elements of Coast Artillery were followed by the banner of 2nd Mountain Battery 
2nd Mountain Battery marchers were followed by the banner of 2/1 Australian Mdm Regiment 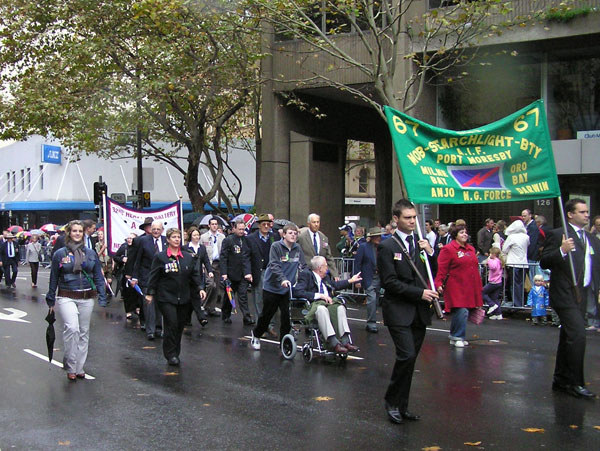
67 Mobile Searchlight Battery 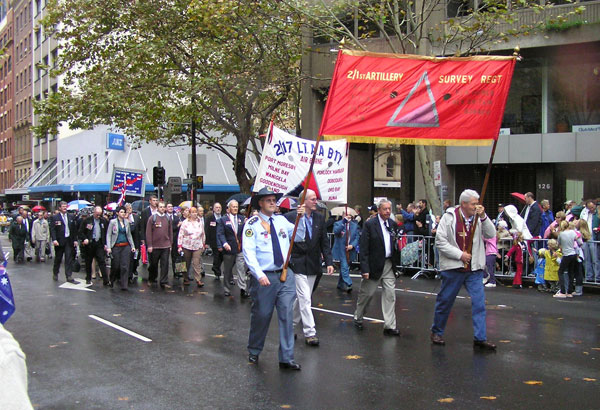
2/1 Artillery Survey Regiment 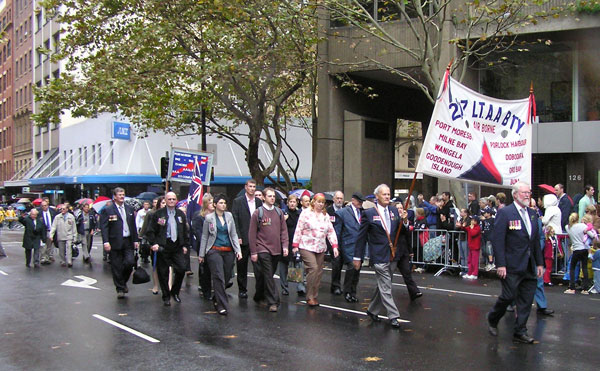
2/17 Light Anti-Aircraft Battery 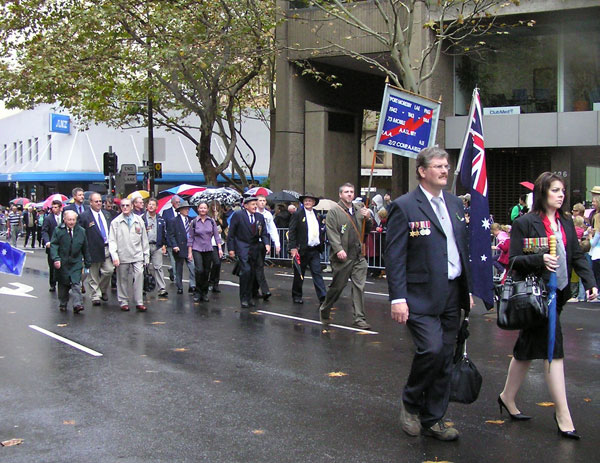
2/2 Composite Anti-Aircraft Regiment & 73 Mobile Anti-Aircraft Search Light Battery 
Anti-Aircraft Search Light Batterys Association 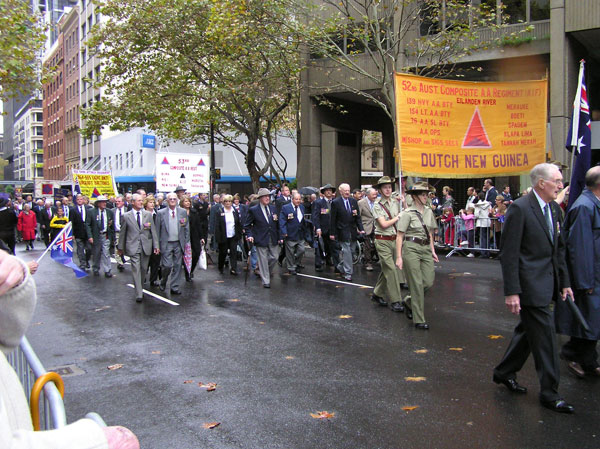
52 Composite Anti-Aircraft Regiment 
53 Composite Anti-Aircraft Regiment banner preceded by the rear elements of 52 Composite Anti-Aircraft Regiment 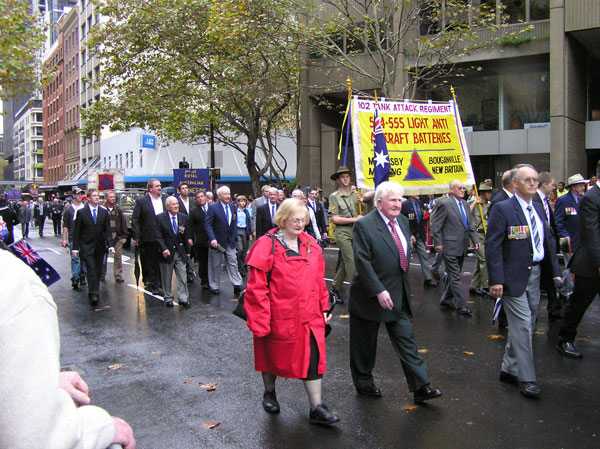
102 Anti-Tank Regiment & 554 555 Light Anti-Aircraft Battery Association and some of the rear elements of 53 Composite Anti-Aircraft Regiment 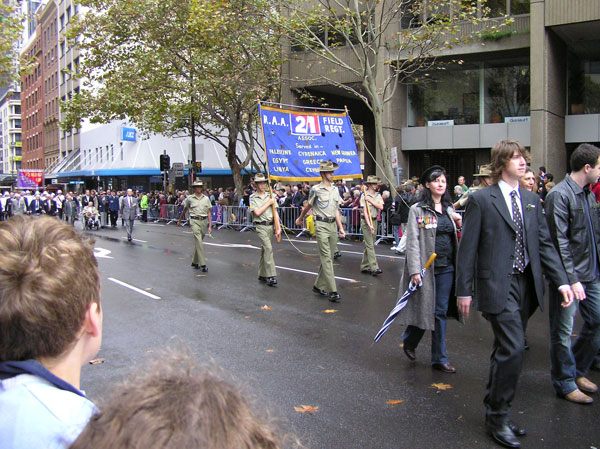
2/1 Field Regiment banner party 
2/1 Field Regiment main body 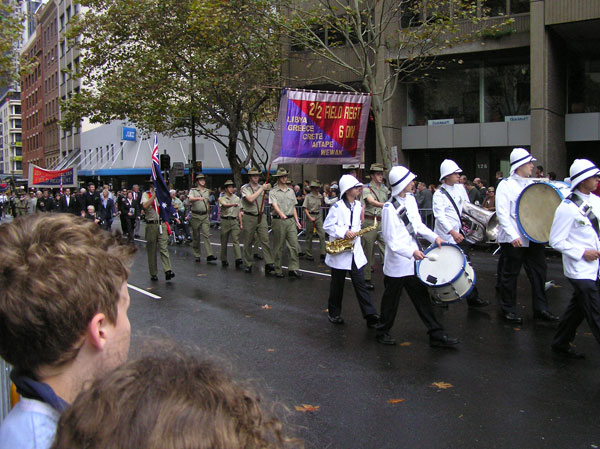
2/2 Field Regiment banner party followed behind the Band of Pittwater House School 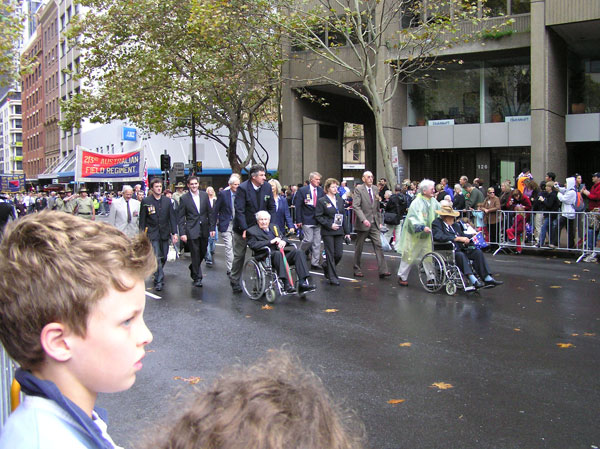
2/2 Field Regiment main body 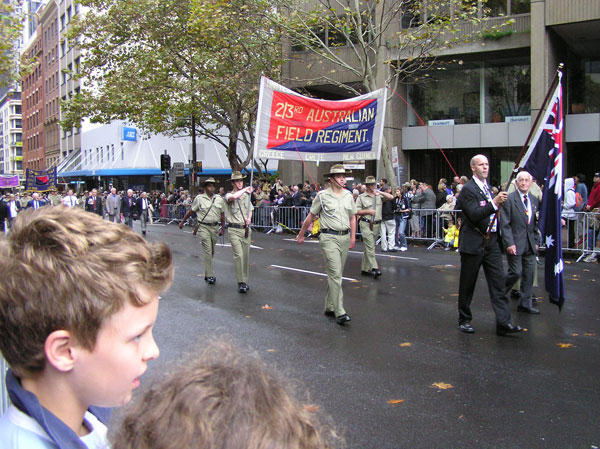
2/3 Field Regiment banner party 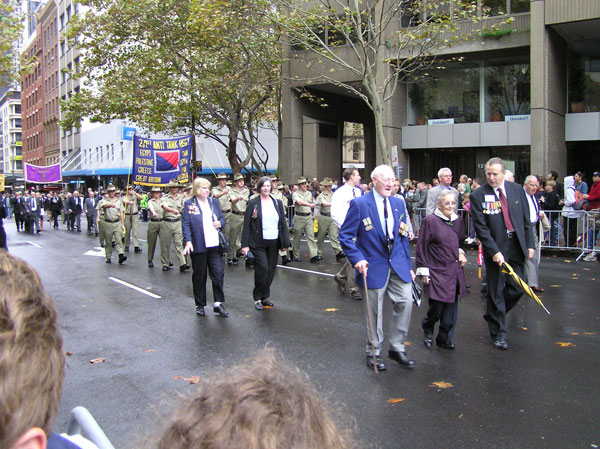
2/3 Field Regiment main body 
2/1 Atk Regiment banner party 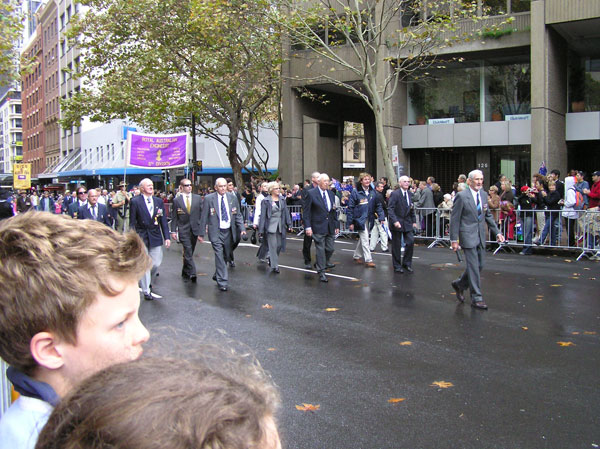
2/1 Atk Regiment main body 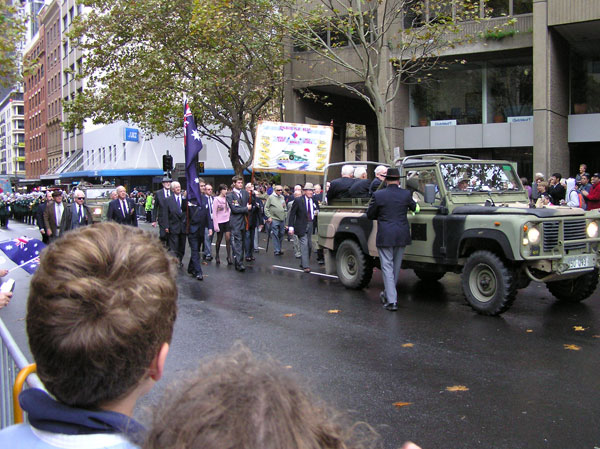
2/4 Field Regiment banner with Landrover providing assistance to those unable to march 
2/5 Field Regiment banner party 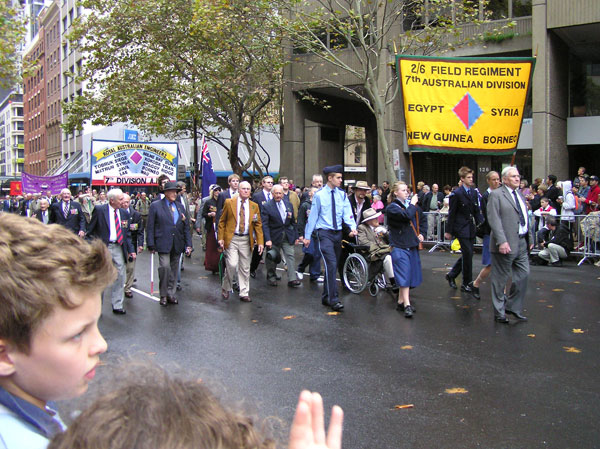
2/6 Field Regiment banner party and the main body 
2/14 Field Regiment banner party 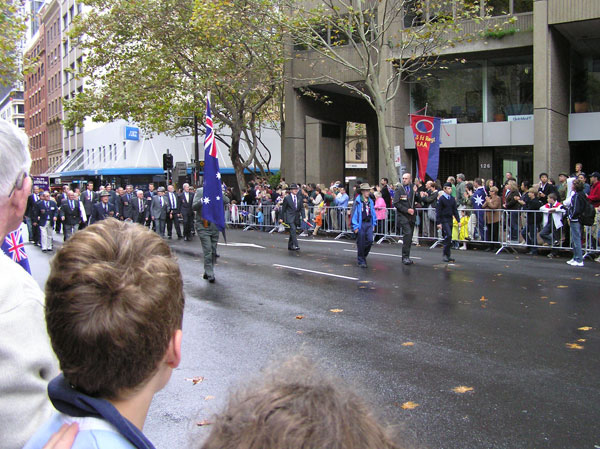
2/15 Field Regiment banner party 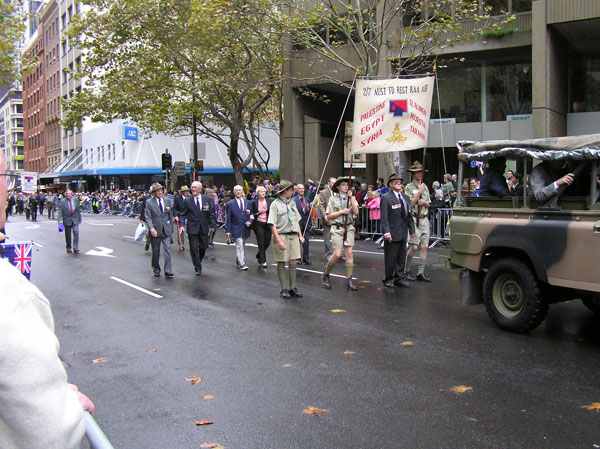
2/7 Australian Field Regiment banner party and Landrover assisted group. 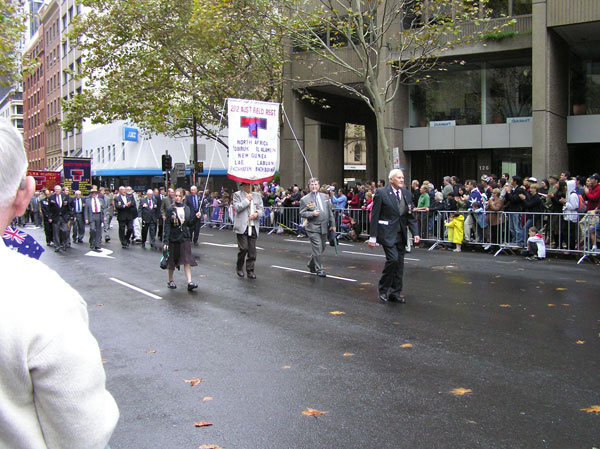
2/12 Field Regiment banner party 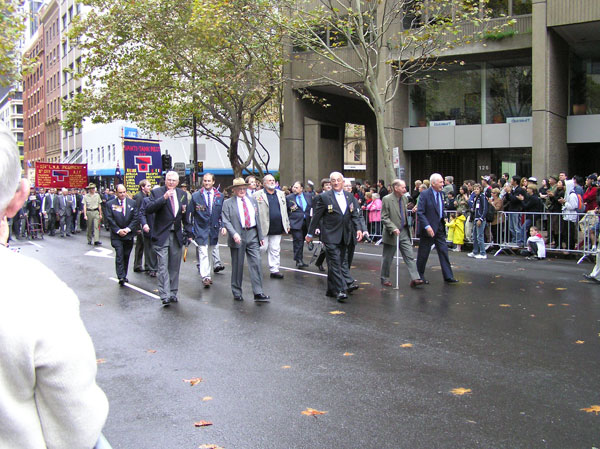
2/12 Field Regiment main body 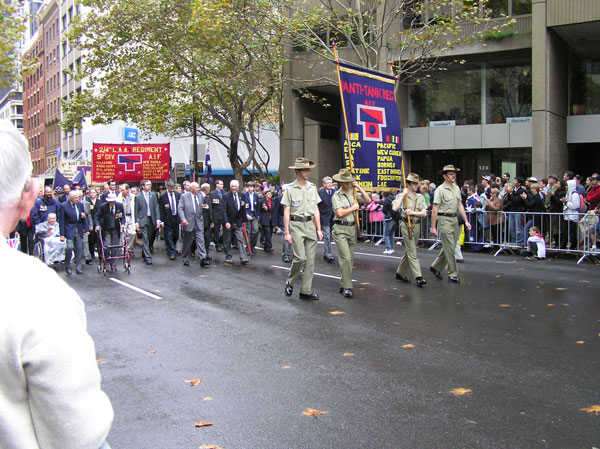
2/3 Anti-Tank Regiment banner party and the main body 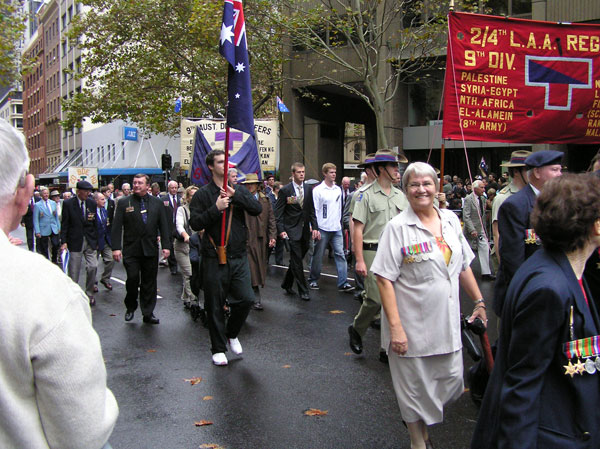
2/4 Light Anti-Aircraft Regiment banner party 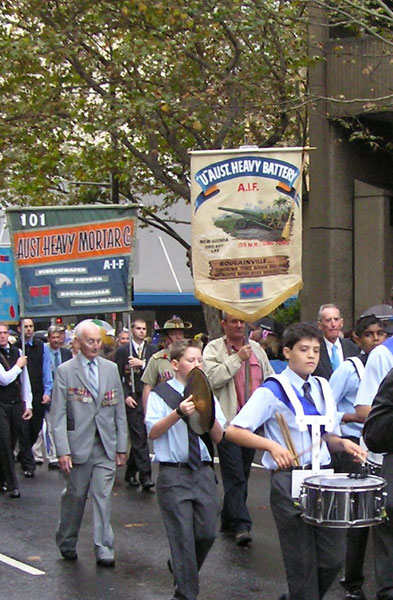
‘U’ Australian Heavy Battery banner party consisting of (L-R) Allan Dundon, Robert Gilbert carrying the banner and his father, Reg Gilbert, on the far right 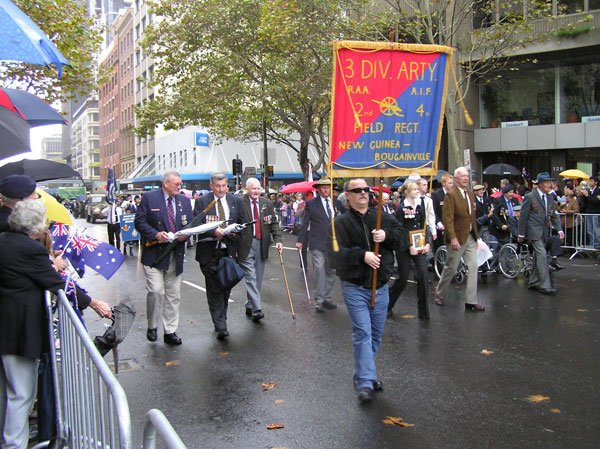
3 Division Artillery banner